If you want detailed information about where you were last week or keep an eye on your children’s whereabouts, here’s how to check the location history on your iPhone, iPad, and Mac. Ensure you are using the latest software version on your respective devices.
How to Check Location History on iPhone
iPhone is usually the only Apple device that gets carried everywhere we go. So let us start with how to see location history on your iPhone. Your location history is also tracked when you mark a location in the Photos app. Here’s how to check the same. Step 1: Open the Settings app on your iPhone. Step 2: Scroll down and tap on Privacy and Security. Step 3: Tap on Location Services. Step 4: Scroll down to the bottom and tap on System Services. Step 5: Scroll down and select Significant Locations. You might be asked to authenticate using Face ID and Passcode. You will see your last visited location and view all the past locations you have visited. If you can’t see any data, ensure that the feature of Significant Locations has been enabled. To clear your location history, click on Clear Data at the bottom and confirm again by tapping on Clear History. Check our post if location services are not working on your iPhone.
How to Check Location History on iPad
If you mostly carry your iPad while traveling outdoors, here’s how to find your location history. Step 1: Open the Settings app on your iPad. Step 2: Scroll down the left menu and tap on Privacy and Security. Step 3: Select Location Services. Step 4: Scroll down to the bottom and tap on System Services. Step 5: Scroll down and tap on Significant Locations. You will see all your recent locations and the significant locations that you have visited recently. Of course, you will have to enable Significant Locations to use this feature. To clear your location history, click on Clear Data at the bottom and confirm again by tapping on Clear History.
How to Check Location History on Mac
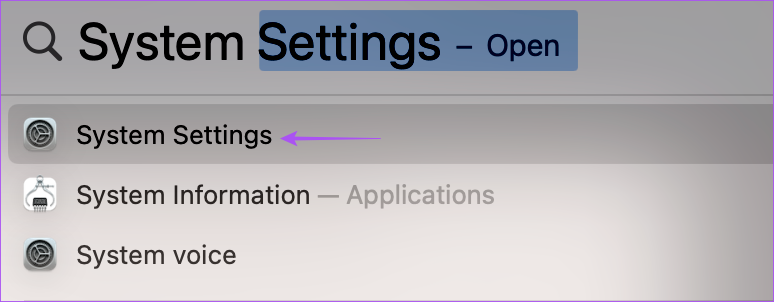
You can check your recent locations on your Apple devices, including your Mac. Your approximate location is determined using information from local Wi-Fi networks and is collected by Location Services in a manner that doesn’t personally identify you. Here’s how to check the same on your Mac. Step 1: Press Command + Spacebar keyboard shortcut to open Spotlight Search, type System Settings, and press Return. Step 2: Click on Privacy & Security from the left menu. Step 3: Click on Location Services. Step 4: Scroll down to the bottom and click on Details next to System Services. Step 5: Click on Details next to Significant Locations. You will see all your recent locations and the significant locations that you have visited recently.
Clear Location History on Mac
Here’s how you can remove all your location data collected on your Mac. Step 1: Press Command + Spacebar keyboard shortcut to open Spotlight Search, type System Settings, and press Return. Step 2: Select Location Services in Privacy and Security. Step 3: Scroll down and click on Details next to System Services. Step 5: Click on Details next to Significant Locations. Step 6: Click the three dots on the bottom left side. Step 7: Click on Clear Data. Step 8: Click on Clear History to confirm. Step 9: Click on Done at the bottom right side to confirm. If you keep your Significant Location turned on, the data will be appear again after some time, and you can check your location history.
Check Your Recent Location
You can check the location history on your iPhone, iPad, and Mac to get suggestions on apps based on the places you visit frequently. But sometimes, you might require to keep track of the real-time location of your friends and family. You may be asked to share your current location. You can do this without relying on any third-party messaging apps. Check our post on how to share your current location using the Messages app on your iPhone. Just ensure that you are using the iMessage service. The above article may contain affiliate links which help support Guiding Tech. However, it does not affect our editorial integrity. The content remains unbiased and authentic.


