Excel offers the flexibility to set the display and authoring language independently, allowing you to use the interface in one language and edit spreadsheets in another. This guide will walk you through the necessary steps for changing the display and authoring language in Microsoft Excel for PC and the web.
How to Change the Display Language in Microsoft Excel
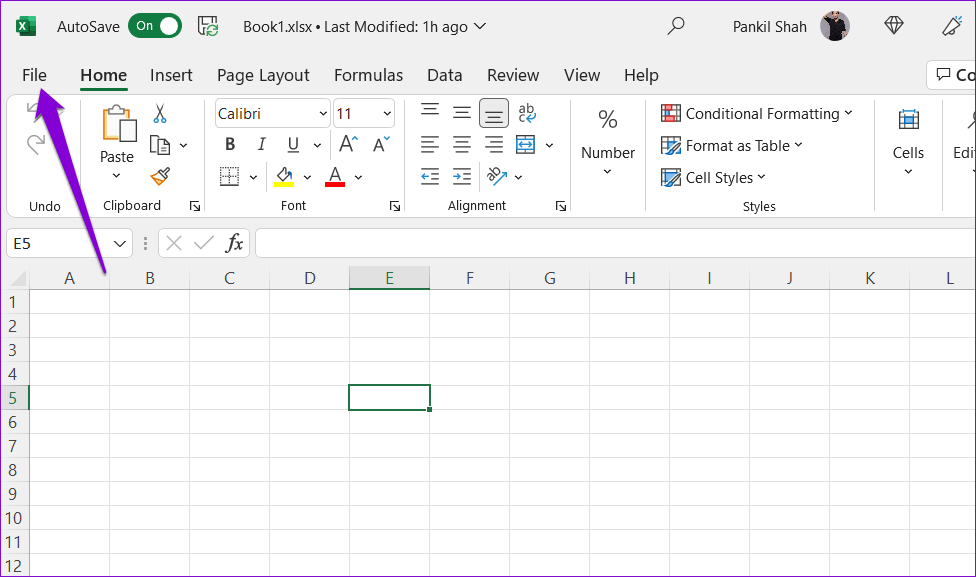
Display language is the one that Excel uses throughout its interface, which includes menus, buttons, dialog boxes, and more. To add or change the display language in Microsoft Excel, use these steps: Step 1: Open Microsoft Excel app on your PC. Step 2: Click the File menu at the top-left corner. Step 3: Select Options from the left sidebar. Step 4: In the Excel Options window, switch to the Language tab. Step 5: Under Office display language, click the Add a Language button. Step 6: In the pop-up box, select the language you want to use, tick the ‘Set as Office display language’ checkbox, and click Install. Step 7: Click OK and wait for Office to download the language pack. Step 8: After the download completes, click on Continue to close Excel and apply the new display language. Make sure you save your work beforehand. Wait for Office to apply the new language, and reopen Excel. It is worth noting that any language changes you make in Excel will also affect other Office apps, such as Word and PowerPoint.
How to Change the Authoring Language in Microsoft Excel
Authoring language (or editing language) is the language that you use to write text or numbers in your spreadsheets. If you are collaborating with colleagues or clients who speak a different language or simply prefer to use Excel in a language you are more familiar with, changing the authoring language in Microsoft Excel is simple. Here are the steps you can follow. Step 1: Open Microsoft Excel on your PC. Step 2: Click the File menu at the top-left corner. Step 3: Select Options from the left sidebar. Step 4: Navigate to the Language tab. Step 5: Under ‘Office authoring languages and proofing,’ select the Add a language button. Step 6: Scroll through the list to select the language you want to use. If the language supports proofing, tick the ‘Get proofing tools’ checkbox and click Add. Step 7: Select the newly added language and click the Set as preferred button. Step 8: Click Yes to confirm. Restart Excel after completing the above steps. This will change the default authoring (editing) and spell check (proofing) language in Excel.
How to Change the Language in Microsoft Excel Online
If you prefer the web-based version of Excel, you can use the following steps to change the default language. Note that the language changes will reflect in other Office web apps. Step 1: Open any web browser, visit Microsoft Office website, and then sign into your account. Visit Microsoft 365 Step 2: Click on your profile icon at the top-right corner and select My profile. Step 3: Scroll down to the Language info section and select Display language. Step 4: Scroll through the list or use the search box to select the display language you want to use. Then, click the Change display language button. Step 5: Click OK to confirm. After you complete the above steps, Excel will open in the specified language. If you want to set a different language for proofing in Excel Online, you can follow these steps: Step 1: Open Microsoft Excel website in a web browser. Open an Excel file for which you want to change the proofing language. Visit Microsoft Excel for Web Step 2: Click the Review tab at the top. Step 3: Click on Spelling. Step 4: In the panel that appears on your right, use the drop-down menu under Dictionary Language to pick your preferred proofing language.
Master Excel in Any Language
As we just saw, changing display and authoring language in Excel isn’t too difficult, regardless of whether you are using the desktop app or its web version. So what are you waiting for? Go on and start using Excel in your preferred language. The above article may contain affiliate links which help support Guiding Tech. However, it does not affect our editorial integrity. The content remains unbiased and authentic.


