If you’re interested in using the Secure Sign-In feature on Windows 11, we’re here to help. Before you check the steps for enabling or disabling Secure Sign-In Windows, let’s first understand how this feature keeps your login credentials secure.
What Is Secure Sign-In on Windows
Malicious code or software on your computer can steal your data in various ways. For example, It could display a fake login screen on your Windows computer to steal your PIN or password. That is precisely the issue Secure Sign-In aims to address. When Secure Sign-In is enabled, Windows requires you to press the Ctrl+At+Delete key combination to access the login field. This helps you verify that the login screen you see on your computer is genuine.
After you’re clear what Secure Sign-In is, let’s look at how to enable or disable this feature in Windows 11.
1. Enable or Disable Secure Sign-In by Modifying User Account Settings
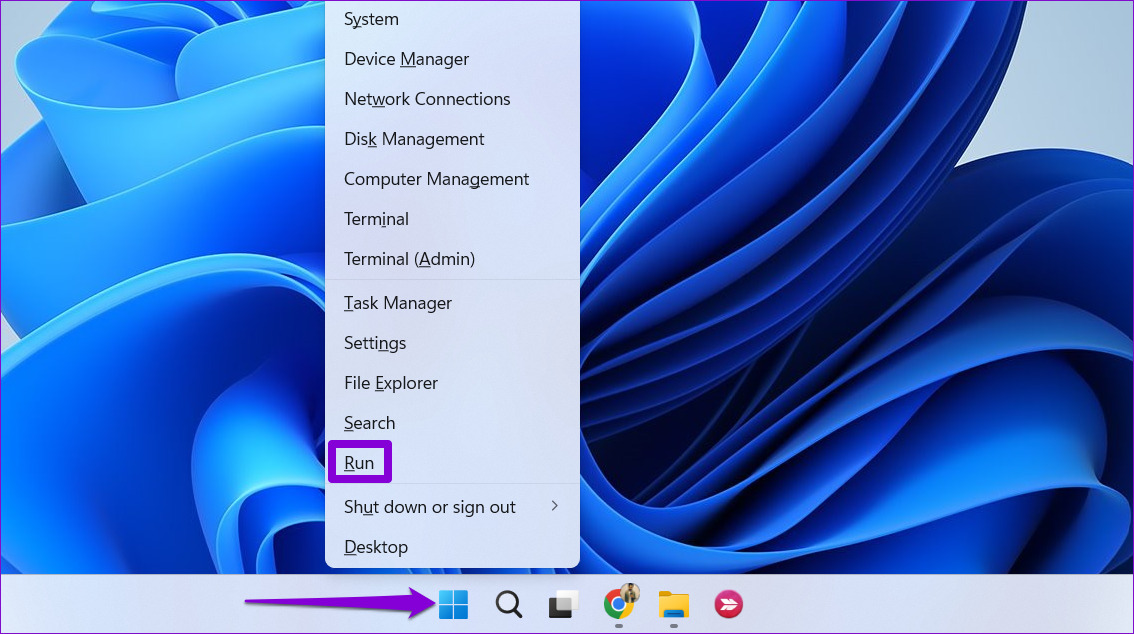
The easiest and quickest way to enable or disable the Secure Sign-In feature on Windows is through the User Account settings. So, let’s start with that. Step 1: Right-click on the Windows icon on the Taskbar or press the Windows key + X to open the Power User menu and select Run from the list.
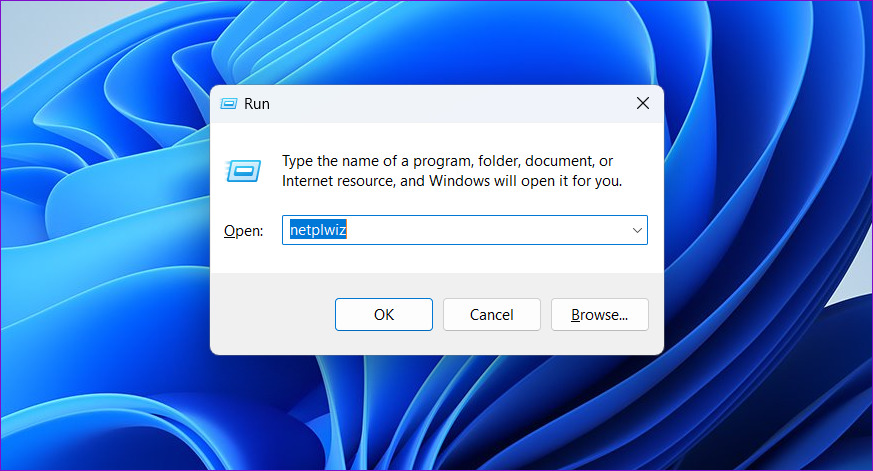
Step 2: In the Open field, type netplwiz, and press Enter.
Step 3: In the User Accounts window, switch to the Advanced tab.
Step 4: Under Secure sign-in section, tick the checkbox next to ‘Require users to press Ctrl+Alt+Delete’ to enable Secure Sign-In on your PC. If you want to disable the feature, clear the checkbox.
Step 5: Click Apply followed by OK.
2. Enable or Disable Secure Sign-In Using the Registry Editor
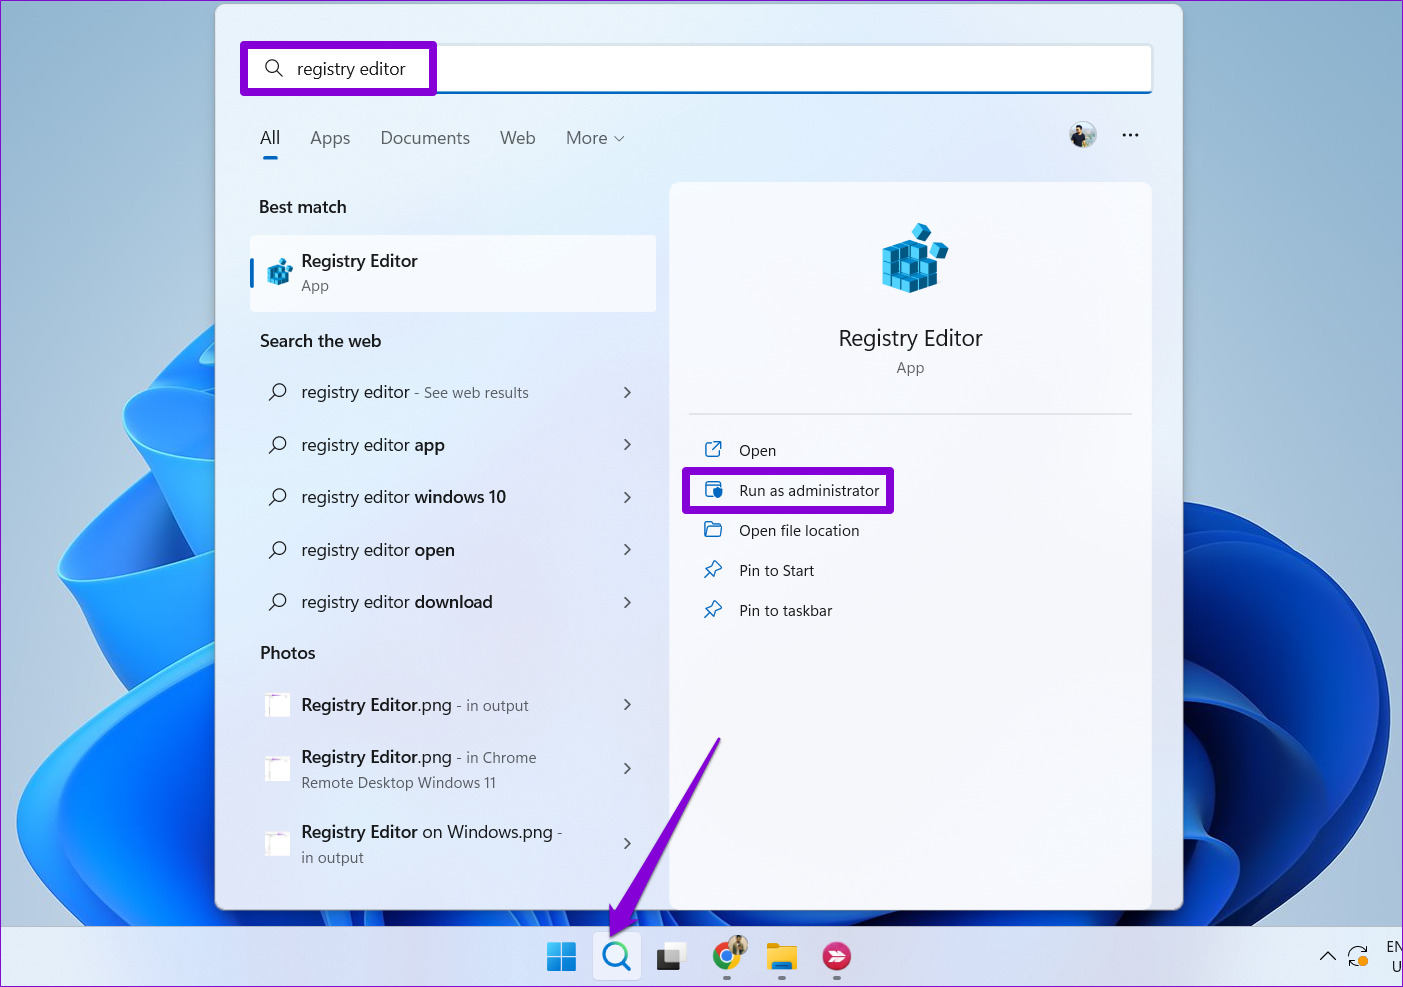
Registry files on your PC hold important configurations for Windows. You can modify these registry files to enable or disable features such as Secure Sign-In. But we recommend against making any changes to registry files before you take a back up all the registry files or create a restore point just in case. Since editing registry files is slightly risky, proceed only if you’re familiar with the Registry Editor. If you are, use the following steps to configure the Secure Sign-In feature using the Registry Editor. Step 1: Click the Windows Search icon on the Taskbar, type registry editor in the search box, and select Run as administrator from the results.
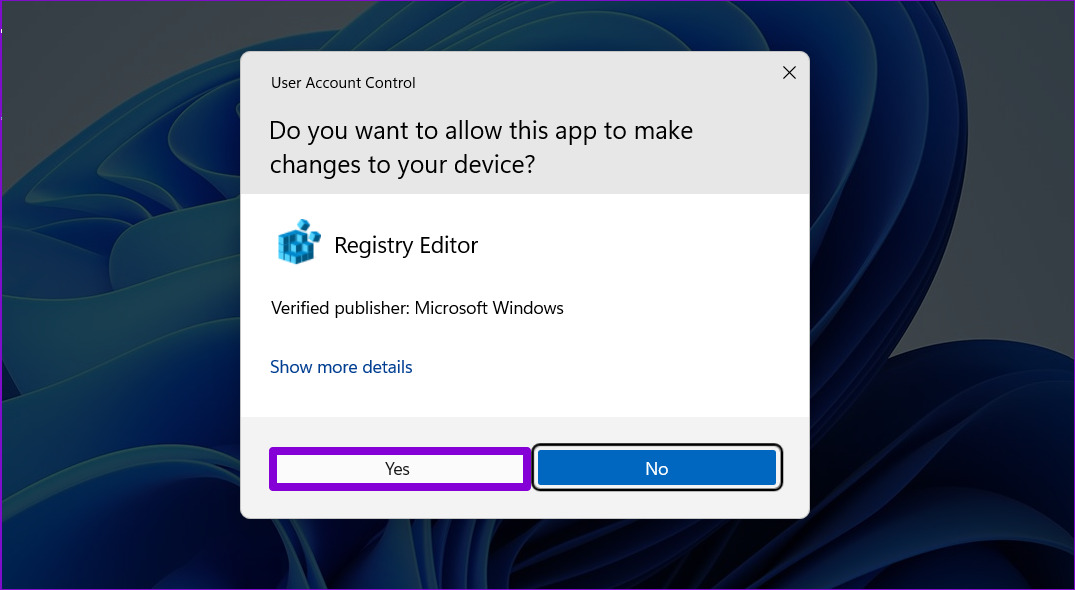
Step 2: Select Yes when the User Account Control (UAC) prompt appears.
Step 3: In the Registry Editor window, paste the following path in the address bar at the top and press Enter.
Step 4: In the Winlogon key, locate the DisablCad entry from the right pane.
If you don’t see the DisablCad DWORD, right-click on the Winlogon key in the left sidebar, select New, and choose ‘DWORD (32-bit) Value’ from the submenu. Name the DWORD DisablCad.
Step 5: Double-click on the DisablCad DWORD and enter 0 in the Value data field to enable Secure Sign-In on Windows. If you want to disable the feature, enter 1 instead. Then, click OK.
Exit the Registry Editor and restart your PC to apply the changes.
3. Enable or Disable Secure Sign-In With Local Security Policy
Another way to configure the Secure Sign-In feature in Windows is through the Local Security Policy in the Group Policy Editor. However, it’s important to note that the Group Policy Editor is only available on Windows 11 Pro, Enterprise, and Education editions. So, if you’re using Windows Home, this method will not work for you. However, you may try the previous solution. Step 1: Press the Windows key + R to launch the Run dialog box. Type secpol.msc in the text box and hit OK.
Step 2: When the User Account Control (UAC) prompt appears, select Yes to proceed.
Step 3: In the Local Security Policy window, double-click the Local Policies folder in the left pane to expand it.
Step 4: Within the Local Policies folder, select the Security Options folder.
Step 5: In the right pane, double-click the ‘Interactive logon: Do not require CTRL+ALT+DEL’ policy.
Step 6: On the Local Security Setting tab, select the Enabled radio button to disable the Secure Sign-In requirement. Alternatively, select the Disabled radio button to enable the policy. Hit Apply followed by OK.
Secure Your Computer
Activating the Secure Sign-In feature on Windows is a neat way to safeguard your login credentials from harmful programs. However, if you prefer not to go through an additional step during the login process, you can always disable this feature using one of the methods listed above. The above article may contain affiliate links which help support Guiding Tech. However, it does not affect our editorial integrity. The content remains unbiased and authentic.